はじめに
Pythonで自動モザイク等調べるとopencvで顔の検出をしているものが多いが、自分自身は顔の検出にdlibを使用することが多いです。
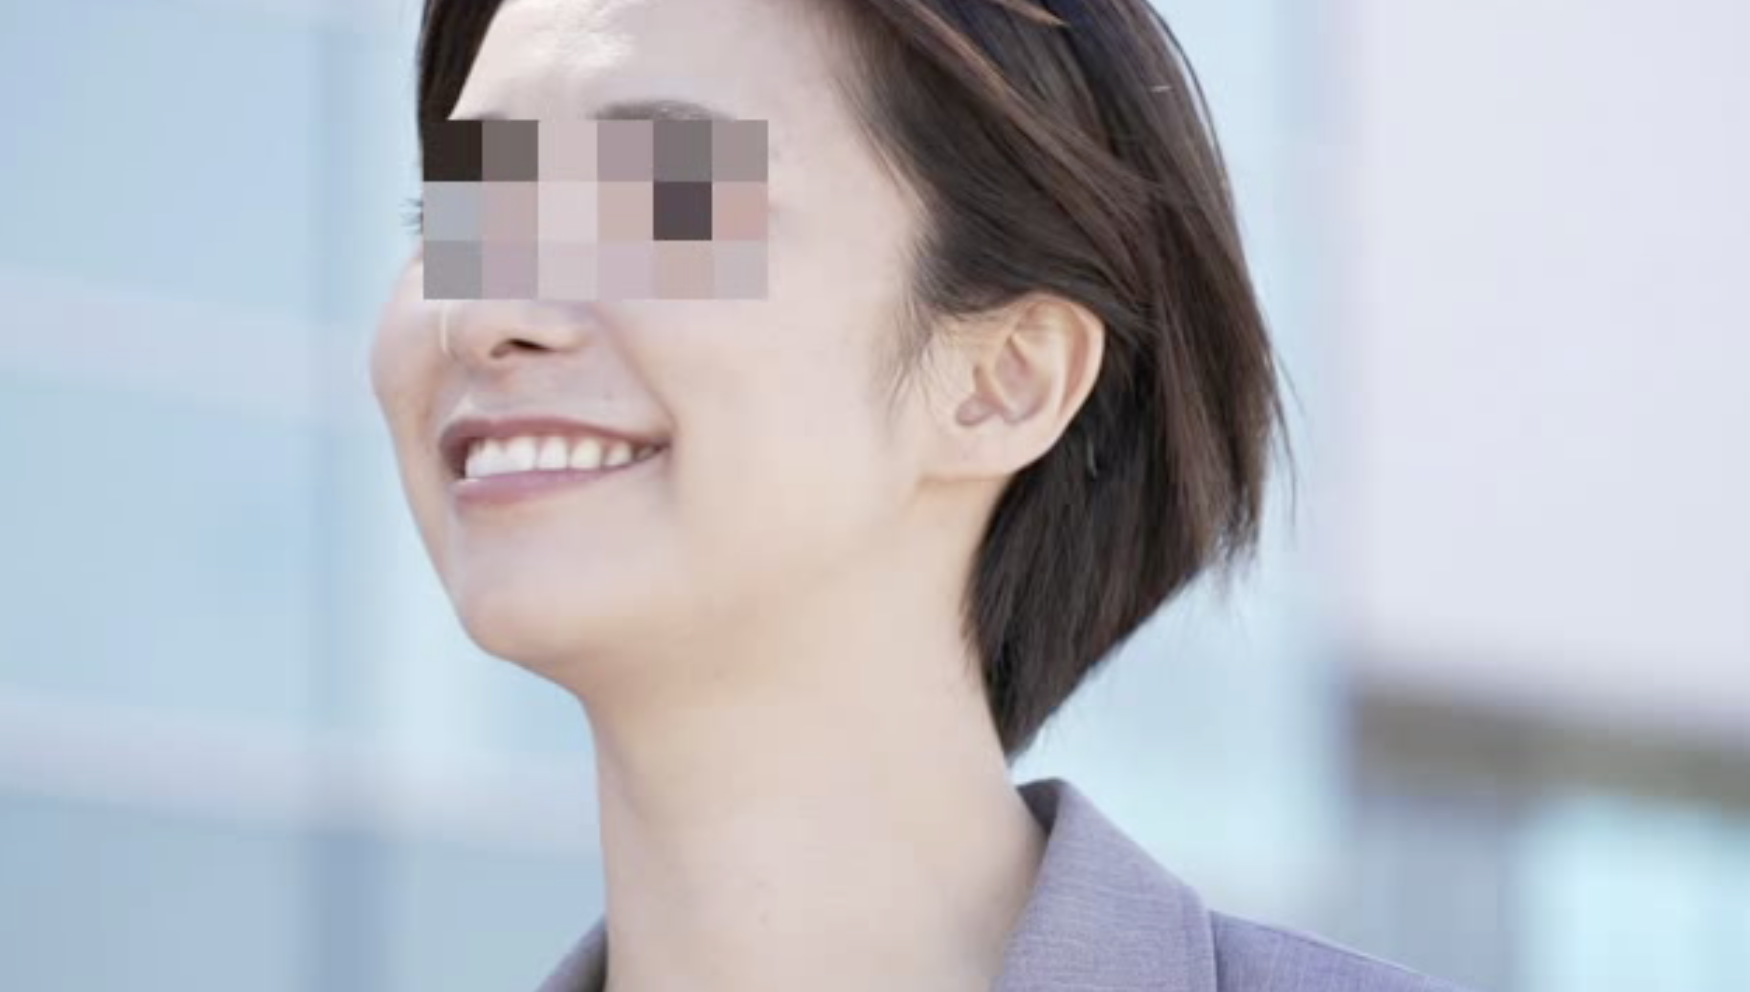
dlibは精度も高く、顔のランドマークが取得できるため、今回のような目だけモザイクを入れる処理も容易に可能となります。
Dlibの使い方は以下のサイトが参考になります。
https://qiita.com/mimitaro/items/bbc58051104eafc1eb38
結果
コード
# -*- coding: utf-8 -*-
from face import Face
import cv2
from PIL import Image, ImageDraw
import numpy as np

def mosaic(img, ratio=0.1):
    small = cv2.resize(img, None, fx=ratio, fy=ratio, interpolation=cv2.INTER_NEAREST)
    return cv2.resize(small, img.shape[:2][::-1], interpolation=cv2.INTER_NEAREST)


# 左上の座標, 右下の座標
def mosaic_area(img, x1, y1, x2, y2, ratio=0.1):
    cp = img.copy()
    cp[y1:y2, x1:x2] = mosaic(cp[y1:y2, x1:x2], ratio)
    return cp


def main():
  face_detecter = Face()
  capture = cv2.VideoCapture(0)

  while(capture.isOpened()):
    ret, frame = capture.read()
    shape = face_detecter.get_face_point(frame)

    if not shape is None:
      frame = mosaic_area(frame, shape[17][0], shape[19][1], shape[26][0], shape[30][1], ratio=0.05)

    cv2.imshow('frame', frame)

    if cv2.waitKey(1) & 0xFF == ord('q'):
      break

  capture.release()
  cv2.destroyAllWindows()

if __name__ == "__main__":
  main()
# -*- coding: utf-8 -*-
import cv2
import dlib
from imutils import face_utils
class Face():
def __init__(self):
self.detector = dlib.get_frontal_face_detector() #顔検出器の呼び出し.ただ顔だけを検出する
self.load_model()
def load_model(self, path="./model/shape_predictor_68_face_landmarks.dat"):
try:
self.predictor = dlib.shape_predictor(path) #顔から目鼻などランドマークを出力する
except Exception as e:
raise ValueError('can not load predict model.')
def get_face_point(self, frame):
gray = cv2.cvtColor(frame, cv2.COLOR_RGB2GRAY) #gray scaleに変換する
rects = self.detector(gray, 0) #grayから顔を検出
if not rects:
return
else:
#顔が認識できればポイントを特定
shape = self.predictor(gray, rects[0])
shape = face_utils.shape_to_np(shape)
return shapeモザイクのコードはこちらを使用しています。https://note.nkmk.me/python-opencv-mosaic/
おわりに
現在作成中の記事で顔を映さなきゃいけなそうな感じになってきたので、取り合えずモザイク貼れるようにしました。
今回のコードは1人用なので複数人に対応したい場合はFace内のrectsの扱いを変えてあげれば良いです。


